Two Dimensional Design
Tutorial # 1
September 19, 2001
Launch Photoshop
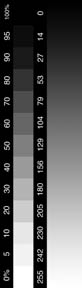
Click File>New. This is the file size dialog box that will appear:
Copy each setting exactly as shown... 7x7 inches, 240 dpi, grayscale mode and transparent background.
Click OK and lets begin.
Use the pen tool to draw an assymetric shape... close the path.
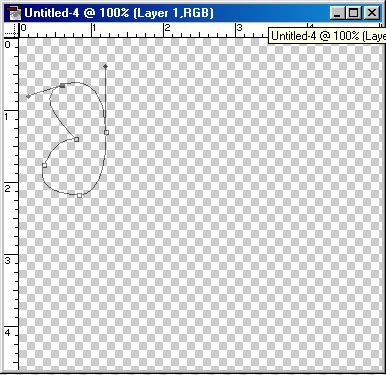
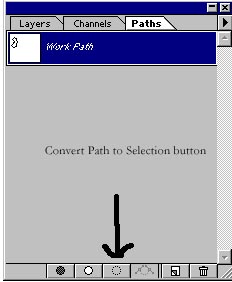
Convert the path to a selection using the button at the bottom of the paths palette:
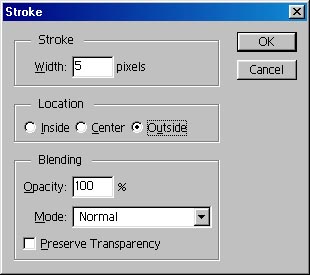
Outline the path with a white line, say 4 - 8 pixels wide using Edit>Stroke. Choose the outside button.
Now fill the center of the object with the bucket tool. Make sure the foreground color is set to black.
Toss out the work path in the paths palatte. Use the magic wand in the
transparent area to select all of the empty space.
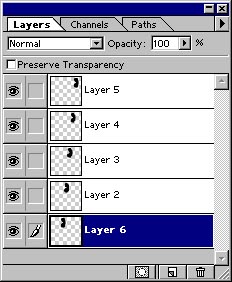
Choose Select>Inverse to select the object. Copy it to the clipboard Ctrl>C. Paste it multiple times using Ctrl>V
Click on the Layer tab to see all of the layers you just created.
Use your grid to help layout the objects: View>Show Grid
Use the Move tool to move the objects around. When ready to save the file, flatten all of the layers down to one layer. Layer>Flatten Image.
Save the file to your Zip Disk.... File>Save As... Choose jpeg as the format to save in and browse to your Zip on removable Disk E.
Thats it!